Zip Widget
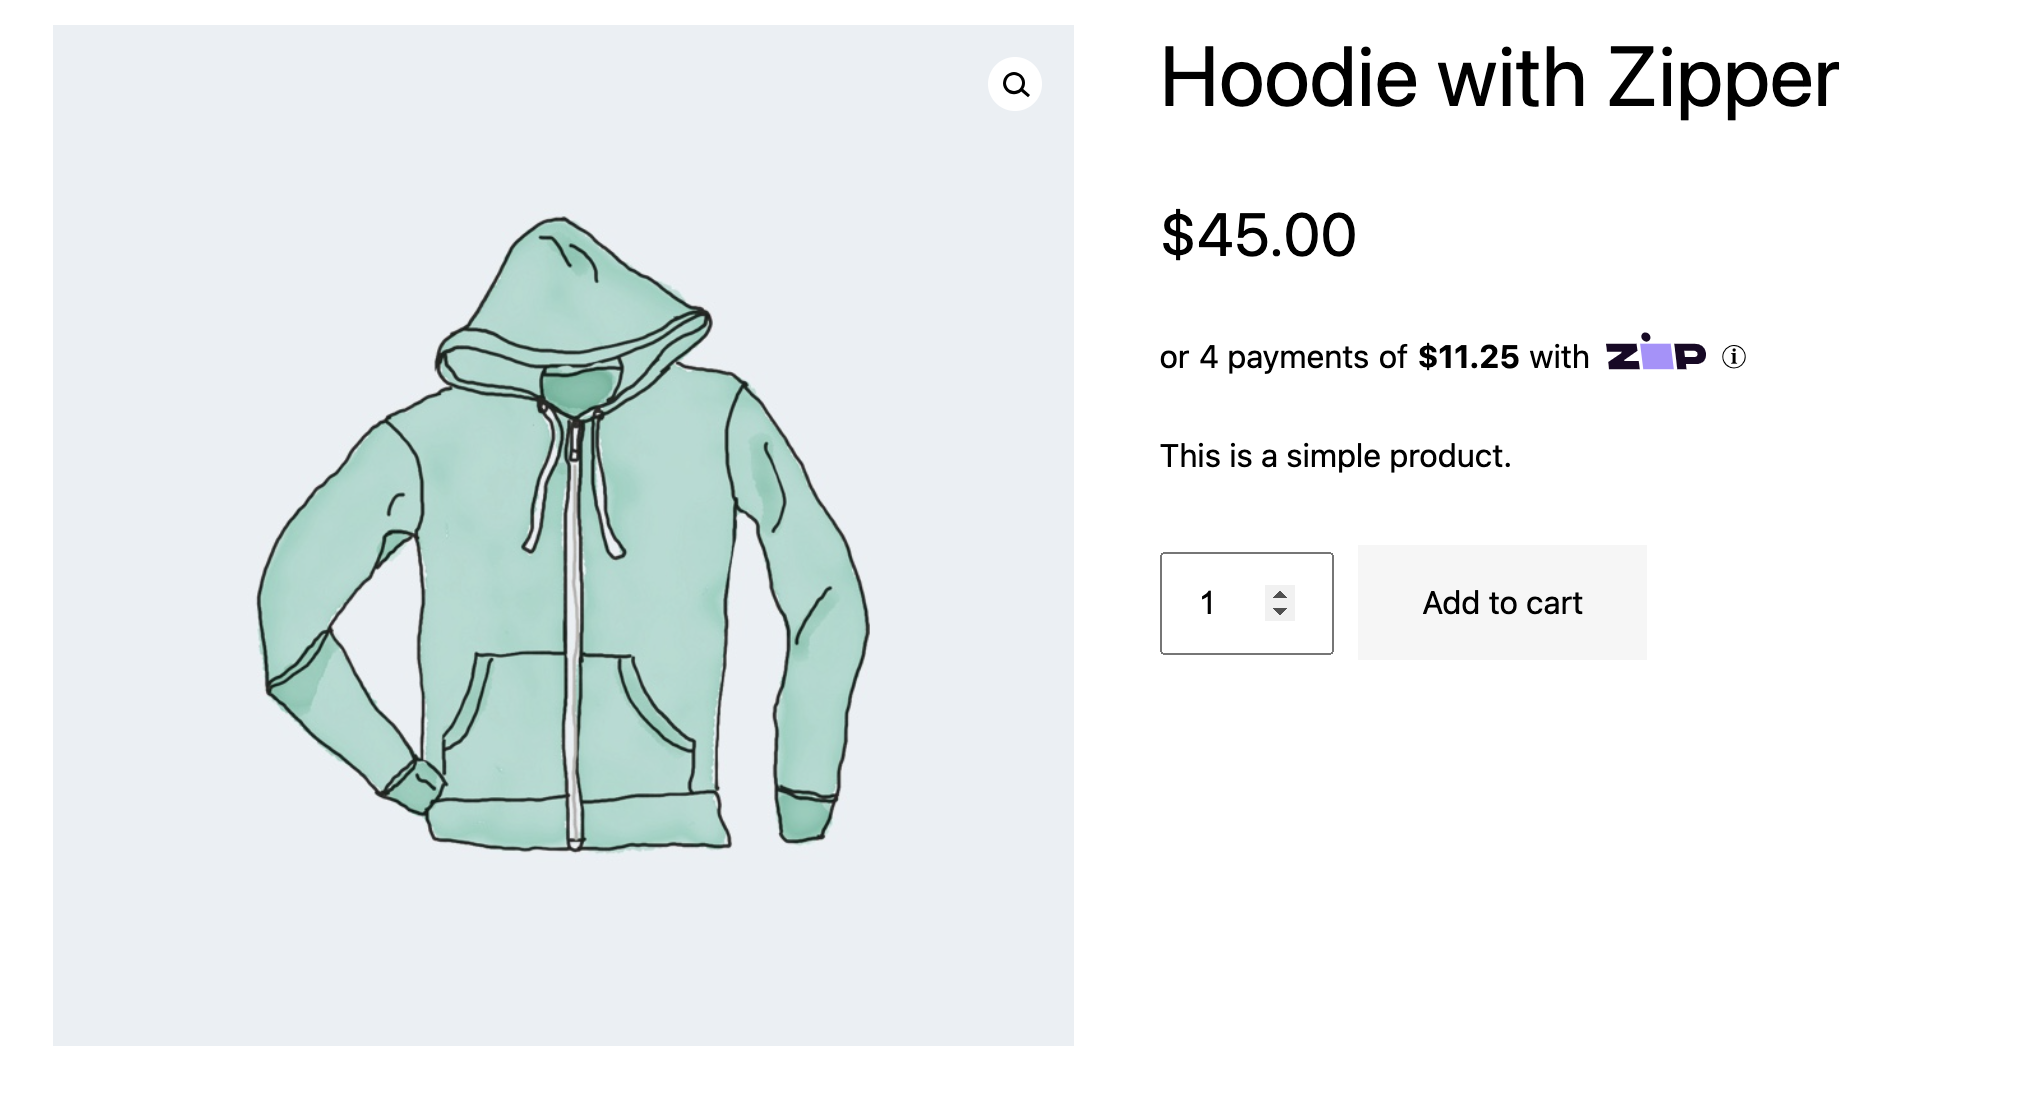
The Zip Widget allows your customers to easily see their ability to split their purchase amount into 4 easy payments.
Before You Start
Use these instructions to integrate the newest version of the Zip Widget. The new version of this widget offers a number of improvements present today and planned for the immediate future while maintaining all existing widget functionality. Upgrading to our latest widget will provide the most stable experience.
Highlights:
- No more versioning: Merchants will always be on the most up-to-date version of the widget without having to make any code changes; this means new features will automatically become available to merchants who have integrated the new widget.
- Hosted from zip.js: The zip.js library offers a number of client-side tools for merchants, so now you only need one library for all of your Zip frontend needs.
- ADA compliance: Although this was present in some previous versions of the widget, now it is available for all merchants using the new widget.
- Configuration-driven properties: Some properties of the widget can be pulled from merchant configuration by passing in the merchant ID.
- Tooltip color matching: The color of the widget tooltip will match the color of the widget copy. This helps if your site has a dark background and light-colored copy.
Example Widget

Please use the following steps to integrate the Zip Widget.
1. Enable display of the widget and modal
Paste this snippet which renders the Zip Widget and informational modal in the store's theme or global file.
<!-- zip.js Library -->
<script src="https://cdn.us.zip.co/v1/zip.js"></script>
Sandbox
If implementing the widget in a sandbox environment, use the following sandbox URL:
2. Place the widget
Paste this snippet where the Zip Widget should appear. We recommend the following:
- Beneath the product price on the Product Detail Page
- Beneath the cart total on the Cart page
- Beneath the cart total on the Mini Cart page
For each placement, update the amount attribute (e.g. for Shopify use {{ current_variant.price }}) with the variable for the product price or cart total and the merchantId attribute with the unique merchant id associated with your Zip integration.
<!-- Insert Zip Widget -->
  <quadpay-widget-v3 amount="100" merchantId="[Insert merchant Id]" ></quadpay-widget-v3>
Update Existing Widget Integration
To easily update your existing widget integration to the newest version of the widget, especially if you have implemented any customizations, feel free to append your existing widget tag name to the quadpay.js library in the store’s theme or global file. In doing so, you will only need to change the JavaScript reference and can leave the widget DOM elements as is.
Custom Widget Tag
When adding the custom widget tag name to quadpay.js as a query param,
tagname, you must remove all other instances of zip.js library in order to avoid errors.
tagname has three requirements:
- Must be hyphenated
- Must be all lowercase
- Cannot include special characters, such as numbers
The following examples include quadpay-widget as the custom widget tag name for the JavaScript reference: <https://cdn.us.zip.co/v1/zip.js?tagname=quadpay-widget>.
Enable display of the widget and modal - custom tag name
<!-- With the custom widget tag name -->
<script src="https://cdn.us.zip.co/v1/zip.js?tagname=quadpay-widget"></script>
Place the widget - custom tag name
<!-- With the custom widget tag name -->
<quadpay-widget amount="100" merchantId="[Insert merchant Id]" ></quadpay-widget>
Preview
In certain instances, adjustments like spacing and alignment are necessary. Be sure to preview the widget at desktop and mobile screen widths.
Also, take note that the Zip informational modal appears when the user clicks on the Zip logo or information "i" link. To customize the styling of this modal, select the element by ID and add insert CSS styling accordingly.
Customization
The Zip Widget supports the following optional customizations.
Available attributes
| Attribute name | Value type | Details |
|---|---|---|
| alignment | left, center, right | Default alignment is left-aligned |
| amountSelector | css selector | Product price changes |
| breakpointAlignment | string | Alignment by breakpoint |
| customMargins | string | Overwrites margin around widget. Attribute value must be a valid CSS value for margin. e.g. "0px 0px 10px 0px" or "20px 0px" or "5px" |
| disableAdaCompliance | boolean | Disable ADA compliance styling |
| displayMode | string | "logoFirst" |
| hideLogo | boolean | Hides logo and replaces it with a plain text link of Zip. |
| learnMoreUrl | string | Optional url link to be added to the informational modal. |
| logoAlignment | number | e.g. -1px |
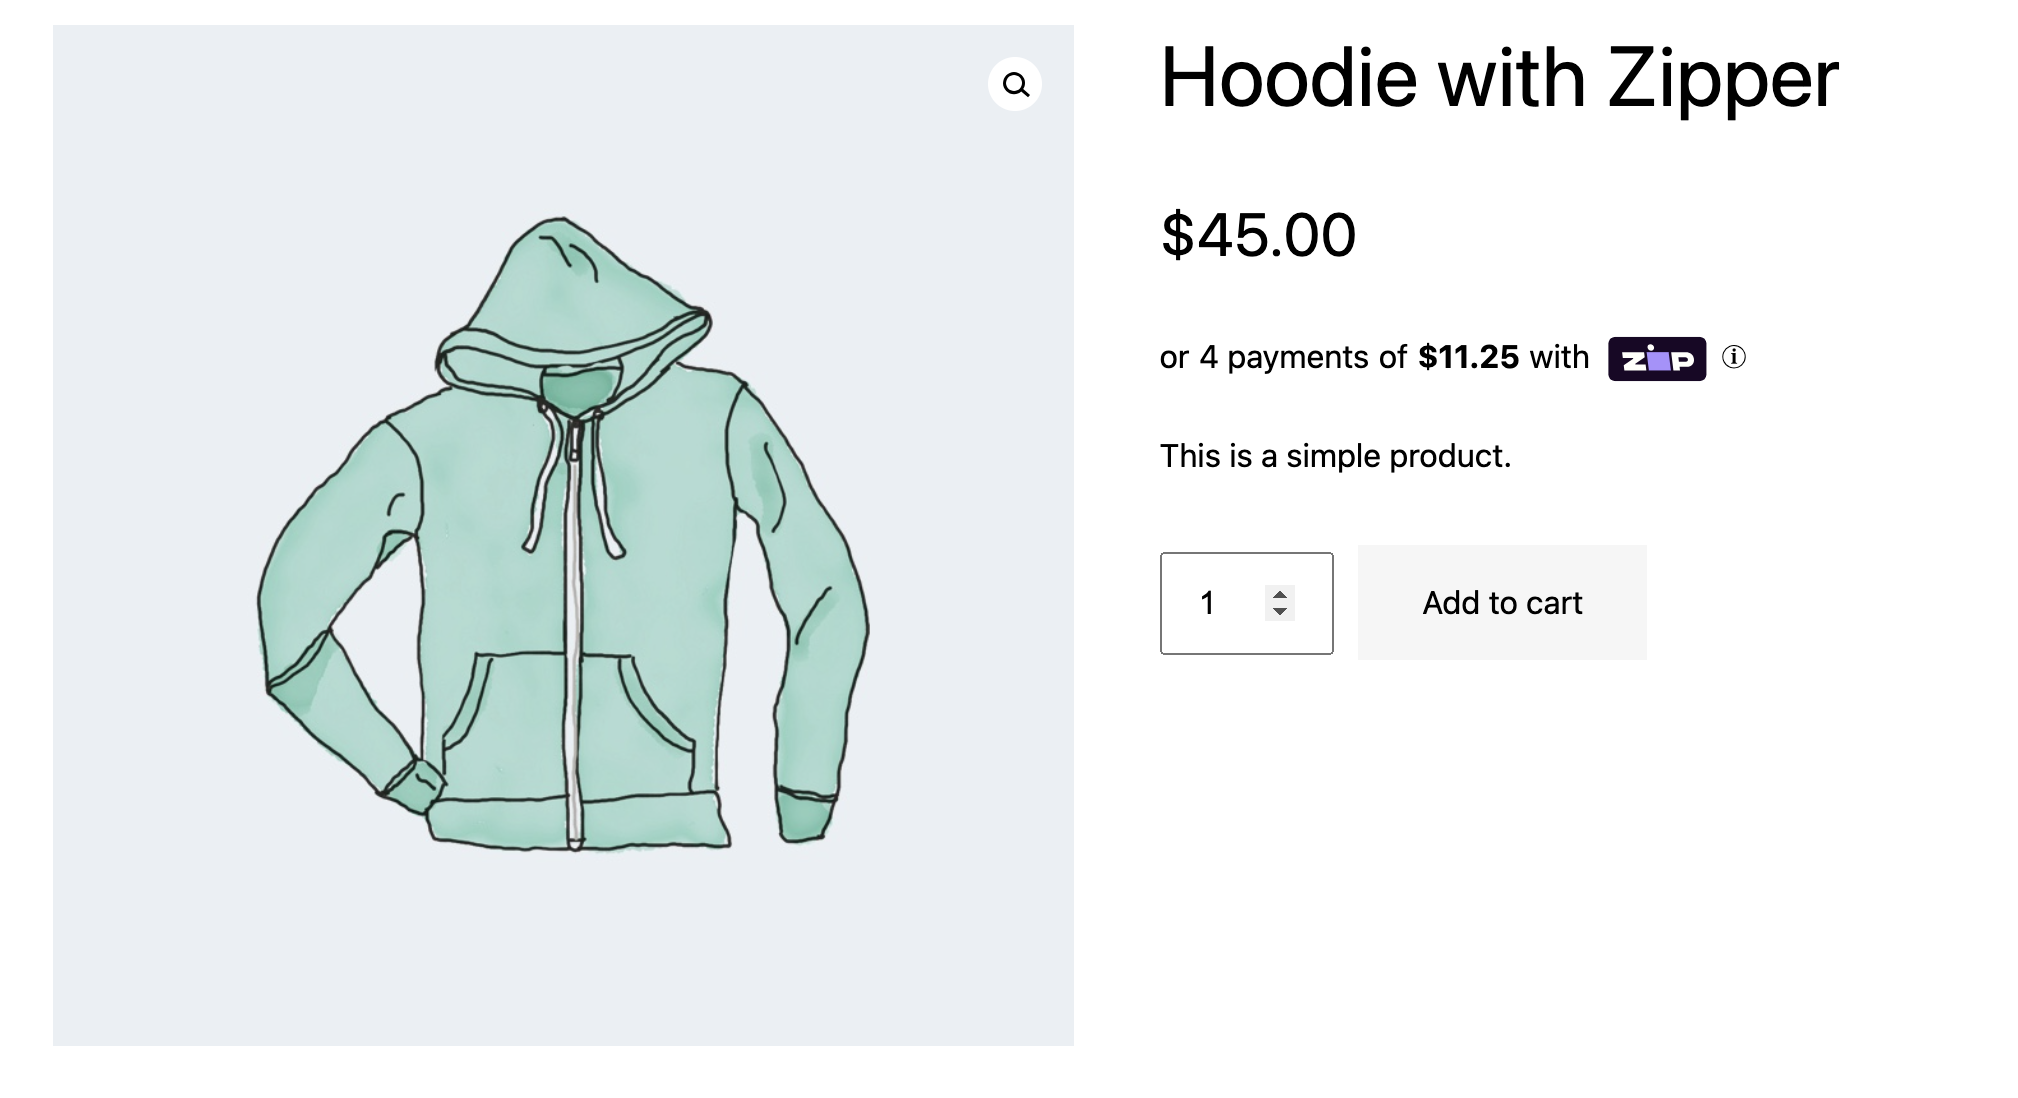
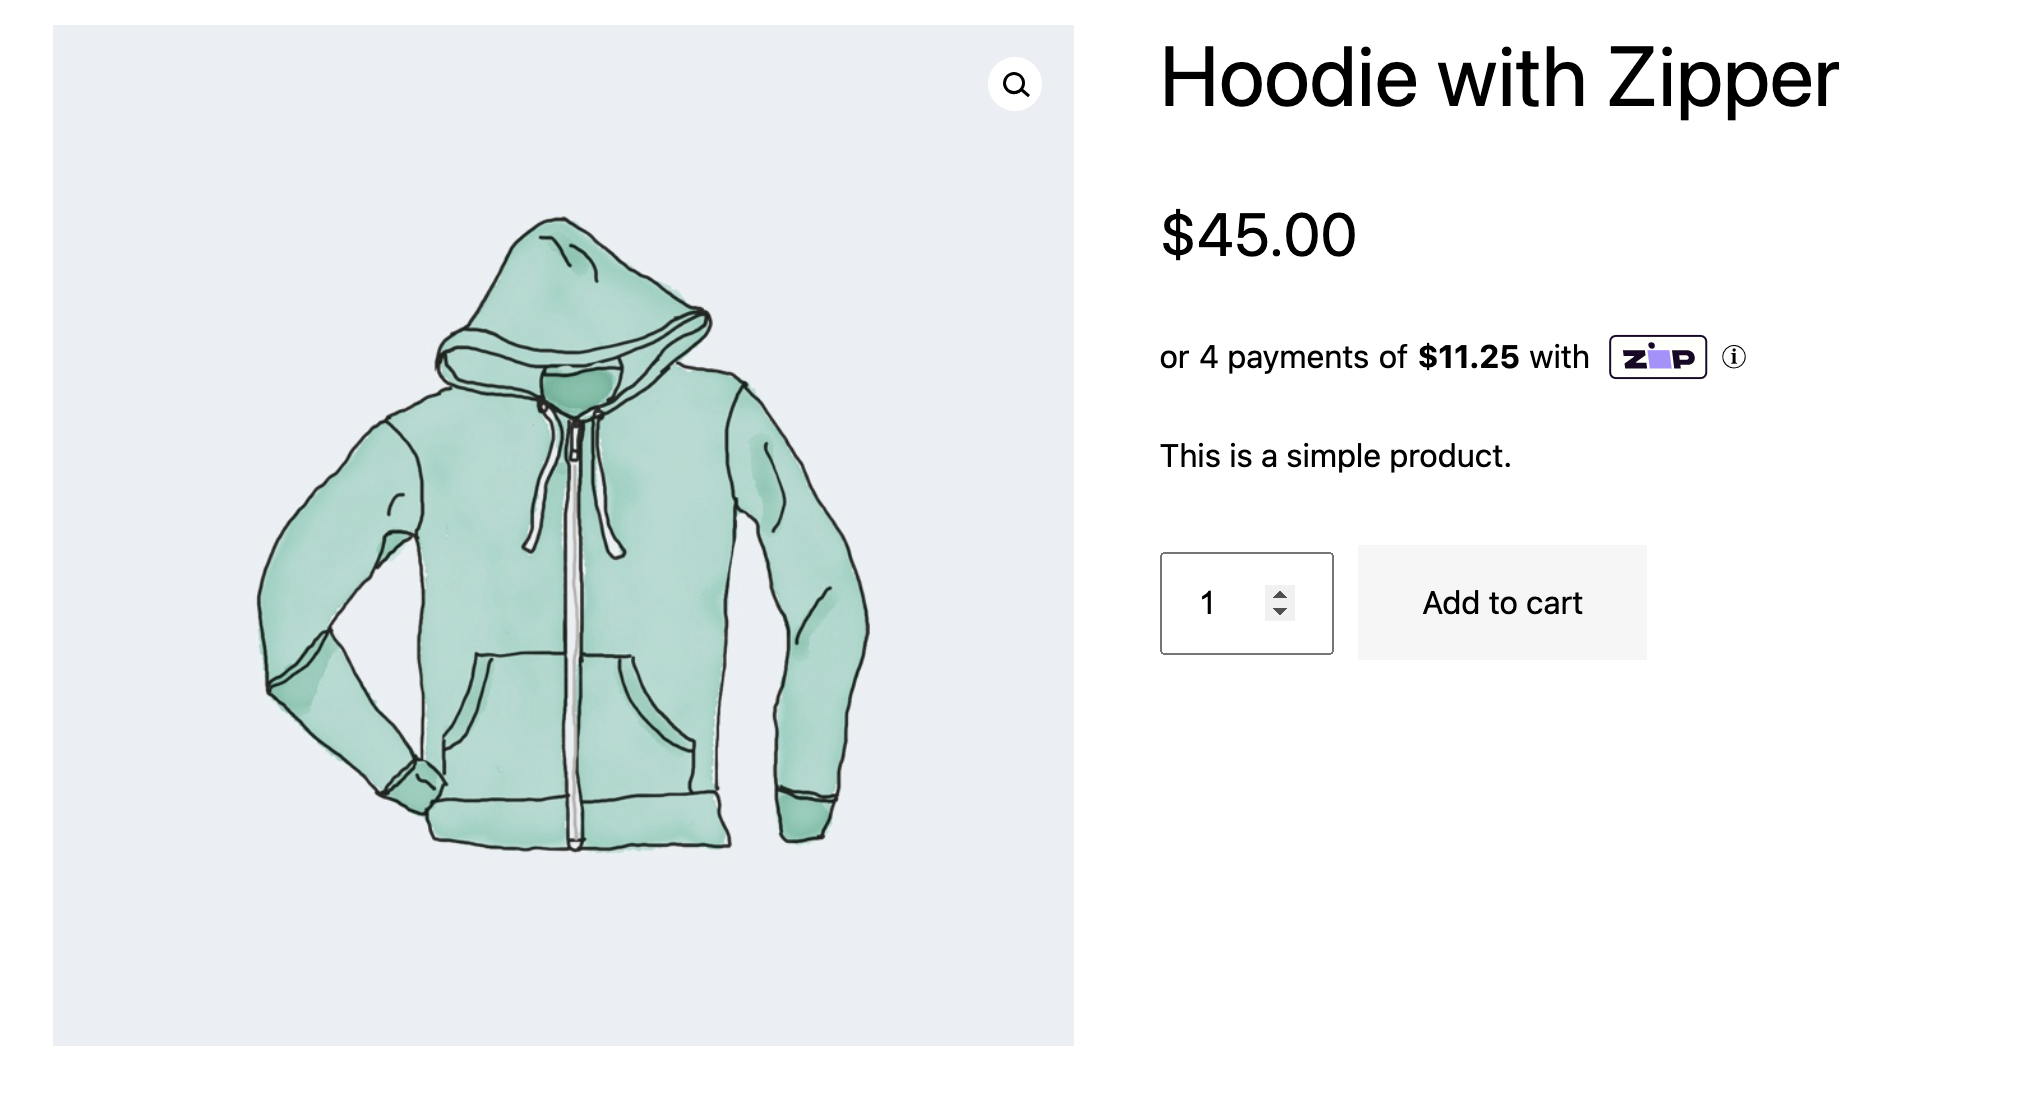
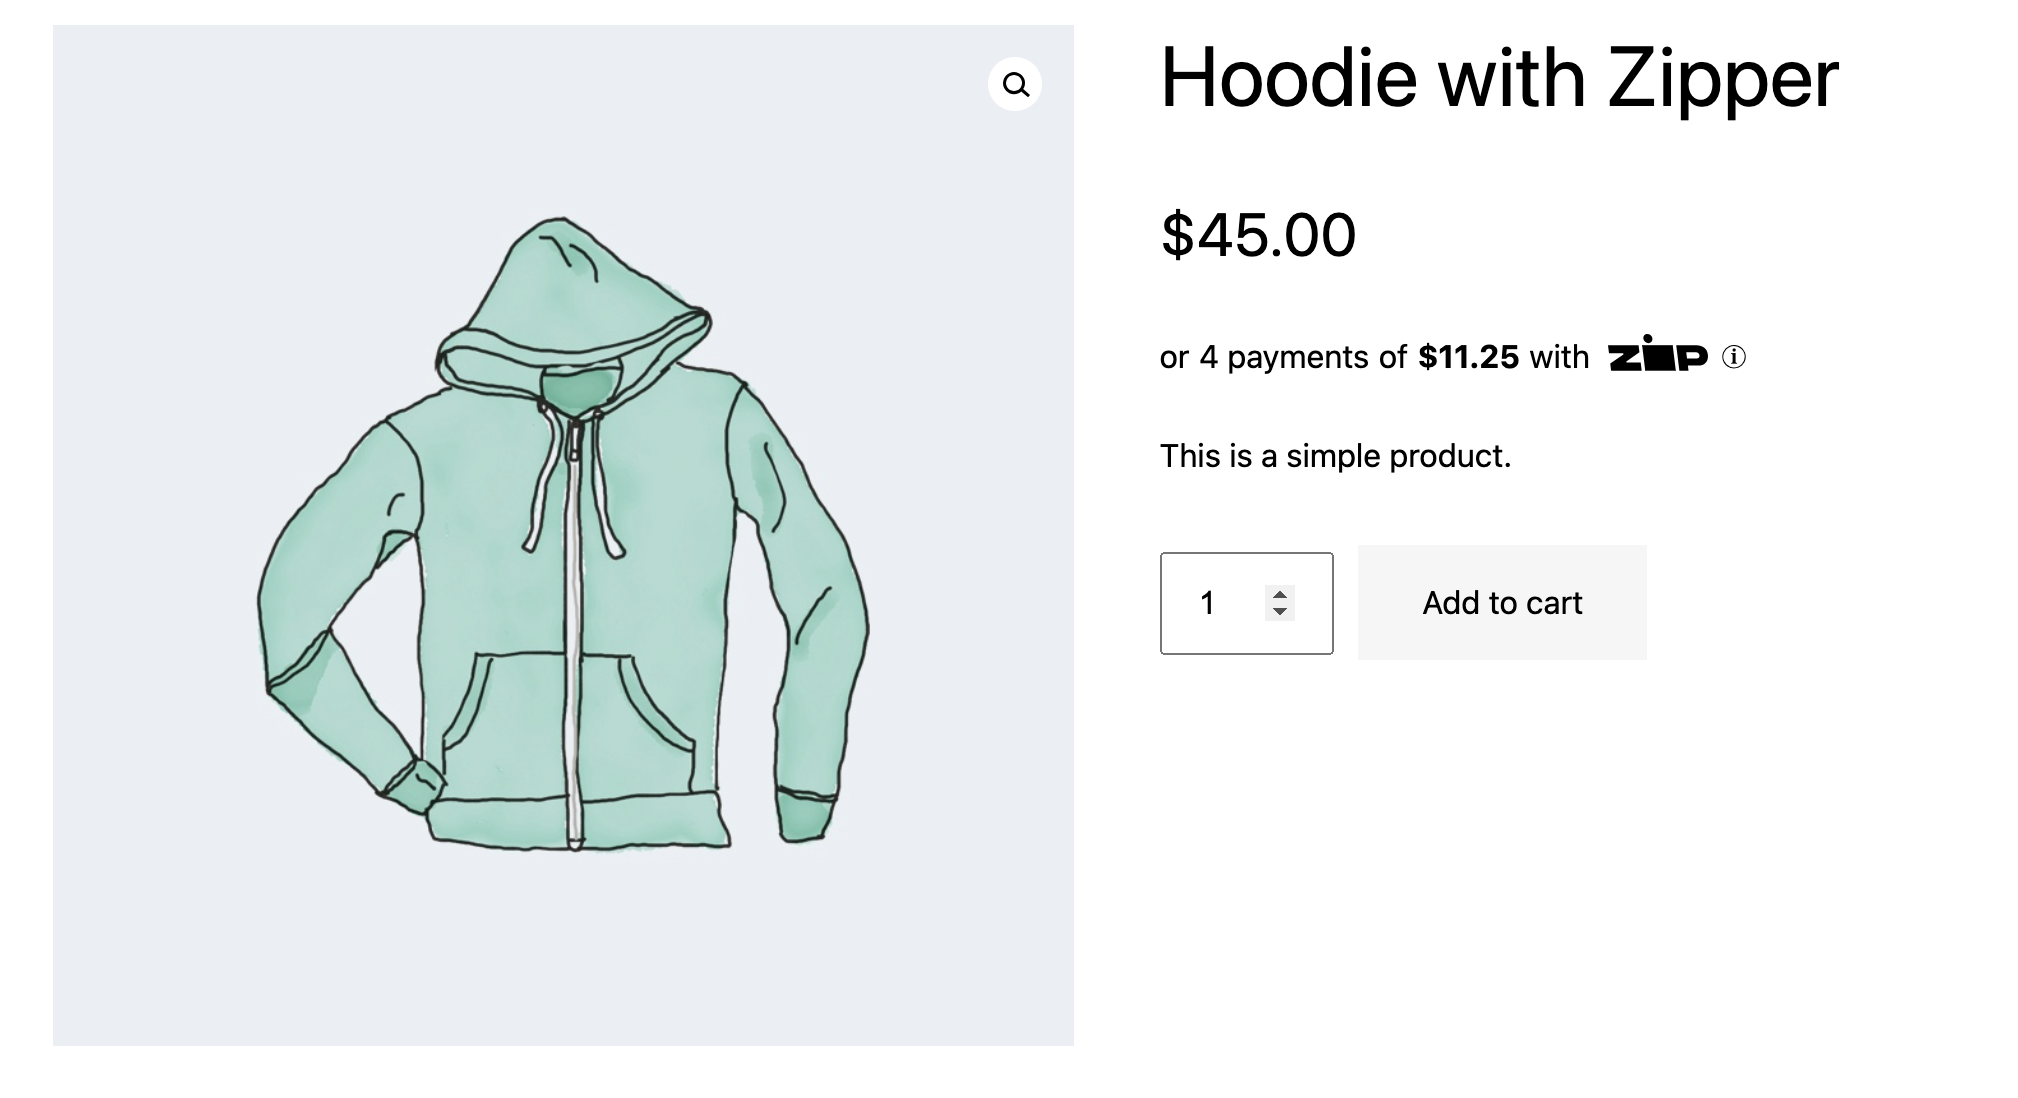
| logoOption | string | Our default logo is displayed with a transparent background. Other options are - 'secondary' which displays a dark background for the Zip logo. 'secondary-light' displays a white background for the Zip logo. 'black-white' displays the logo in all black and white. |
| logoSize | percent value | 60% to 120% |
| max | number | Default is $1500 |
| merchantId | string | A merchant unique Id provided by Zip. |
| min | number | Default is $35 |
| priceColor | hex color | # 990000 |
| single-line | boolean | When using the alignmentattribute, default behavior is to split the widget into 2 lines. Adding in single-line="true"will cause the widget to appear on one line. |
| size | percent value | e.g. - 90%, 120% |
| widgetVerbiage | string | Default widget verbiage is "4 payments with Zip". Alternate verbiage 1: '4-easy-payments'. This will change text in the widget to "4 easy payments with Zip." Alternate verbiage 2: '4-installments'. This will change the text in the widget to "Pay in 4 installments with Zip." |
| darkMode | boolean | For dark backgrounds, set darkMode="true" |
> Adjust Alignment
The default alignment of the widget is left-aligned. To change the widget’s alignment, add alignment="center" or alignment="right" to the quadpay-widget-v3 tag.
<!-- Insert Zip Widget -->
<quadpay-widget-v3 amount="100" merchantId="[Insert merchant Id]" alignment="center"></quadpay-widget-v3>
> Handle Changes to Price or Cart Total
QA Tip
Test that Zip installment amount updates on products with variable prices and when quantities are changed in the cart.
The Zip installment amount should update when the product price changes. To use this feature, add amountSelector="{SELECTOR (ID, CLASS) FOR PRICE OR TOTAL}" to the quadpay-widget-v3 tag:
<!-- Insert Zip Widget -->
<quadpay-widget-v3 amount="100" merchantId="[Insert merchant Id]" amountSelector=".price"></quadpay-widget-v3>
> Adjust Alignment on a Breakpoint
The default alignment of the widget is always left-aligned. Often, the layout of a site changes as the viewport width changes. To adjust the alignment of the widget based on a breakpoint, add breakpointAlignment="{BREAKPOINT (VIEWPORT PIXEL WIDTH) ALIGNMENT}" to the quadpay-widget-v3 tag.
<!-- Insert Zip Widget -->
<quadpay-widget-v3 amount="100" merchantId="[Insert merchant Id]" breakpointAlignment="768, right"></quadpay-widget-v3>
> Add Merchant ID
You can find your Merchant ID in the Merchant Portal, in the Settings tab.
<!-- Insert Zip Widget -->
<quadpay-widget-v3 amount="100" merchantId="[Insert merchant Id]"></quadpay-widget-v3>
> Disable ADA Compliance Styling
You can disable ADA compliance styling with the attribute disableAdaCompliance="true" on the quadpay-widget-v3 element.
<!-- Insert Zip Widget -->
<quadpay-widget-v3 amount="100" merchantId="[Insert merchant Id]" disableAdaCompliance="true"></quadpay-widget-v3>
> Adjust Display Mode
This value enables you to adjust the UX of the widget such that it shows the Zip logo at the beginning of the text, rather than the standard, which is shown at the end.
<!-- Insert Zip Widget -->
<quadpay-widget-v3 amount="100" merchantId="[Insert merchant Id]" displayMode="logoFirst"></quadpay-widget-v3>
> Hide Logo
This value removes the Zip logo on the widget and replaces it with a plain text link of 'Zip'.
<!-- Insert Zip Widget -->
<quadpay-widget-v3 amount="100" merchantId="[Insert merchant Id]" hideLogo="true"></quadpay-widget-v3>
> Add a Learn More URL to the Info Modal
An optional URL to pass in, to be included as a "learn more" link in the info modal. If no URL is passed, the text will not show in the modal. Please ensure the URL is formatted with https://in the beginning.
<!-- Insert Zip Widget -->
<quadpay-widget-v3 amount="100" merchantId="[Insert merchant Id]" learnMoreURL="https://zip.co/us/how-it-works"></quadpay-widget-v3>
> Adjust Logo Alignment
If the logo does not appear vertically aligned in the widget, add logoAlignment="{PIXELS UP OR DOWN}" to the quadpay-widget-v3 tag.
<!-- Insert Zip Widget -->
<quadpay-widget-v3 amount="100" merchantId="[Insert merchant Id]" logoAlignment="-1px"></quadpay-widget-v3>
> Choose Logo Option
The default option for the widget logo is the standard Zip logo on a transparent background. To choose a dark background add logoOption="secondary" to the quadpay-widget-v3 tag. To choose a white background with a black border around the Zip logo add 'logoOption='secondary-light' to the quadpay-widget-v3 tag. To choose a black and white version of the logo add 'logoOption="black-white"' to the quadpay-widget-v3 tag.
<!-- Insert Zip Widget -->
<quadpay-widget-v3 amount="100" merchantId="[Insert merchant Id]" logoOption="secondary"></quadpay-widget-v3>
Secondary Example

Secondary Light Example

Black and White Example

> Adjust Logo Size
To increase or decrease the size of the Zip logo inside the widget, add logoSize="{PERCENTAGE}" to the quadpay-widget-v3 tag. The logo size must be between 60% and 120%.
<!-- Insert Zip Widget -->
<quadpay-widget-v3 amount="100" merchantId="[Insert merchant Id]" logoSize="95%"></quadpay-widget-v3>
> Adjust Maximum Price
The default maximum amount is $1500. On occasion, a merchant has agreed to a different maximum with Zip. In these cases, the widget should reflect the agreed-to maximum amount allowed by adding max="{MAXIMUM PRICE}" to the quadpay-widget-v3 tag.
<!-- Insert Zip Widget -->
<quadpay-widget-v3 amount="100" merchantId="[Insert merchant Id]" max="1600" ></quadpay-widget-v3>
> Adjust Minimum Price
The default minimum amount is $35. On occasion, a merchant has agreed to a different minimum price with Zip. In these cases, the widget should reflect the agreed-to minimum purchase price by adding min="{MINIMUM PRICE}" to the quadpay-widget-v3 tag.
<!-- Insert Zip Widget -->
<quadpay-widget-v3 amount="100" merchantId="[Insert merchant Id]" min="35" ></quadpay-widget-v3>
> Set Price Color
The default color for the installment price is the same as the surrounding text. To adjust the color of the installment price, add priceColor="{HEX COLOR}" to the quadpay-widget-v3 tag.
<!-- Insert Zip Widget -->
<quadpay-widget-v3 amount="100" merchantId="[Insert merchant Id]" priceColor="#990000"></quadpay-widget-v3>
> Make Widget Into Single Line
When using the alignment attribute, default behavior is to split the widget into 2 lines. Adding in single-line="true"will cause the widget to appear on one line.
<!-- Insert Zip Widget -->
<quadpay-widget-v3 amount="100" alignment="right" single-line="true"></quadpay-widget-v3>
> Adjust Text Size
To increase or decrease the size of the text inside the widget, add size="{PERCENTAGE}" to the quadpay-widget-v3 tag.
<!-- Insert Zip Widget -->
<quadpay-widget-v3 amount="100" merchantId="[Insert merchant Id]" size="110%"></quadpay-widget-v3>
> Adjust Layout Spacing
To adjust the space around the widget, wrap the widget in a div and adjust the style="margin: {TOP, RIGHT, BOTTOM, LEFT PIXELS}; attributes to achieve the desired spacing.
<!-- Insert Zip Widget -->
<div style="margin: 0 0 10px 0;">
<quadpay-widget-v3 amount="100"merchantId="[Insert merchant Id]" ></quadpay-widget-v3>
</div>
> Adjust Widget Margins Directly
The default margin value is simply 0. To change the widget's margins, add customMargins="20px 10px" (whatever suits your needs and follows proper CSS margin guidelines) to the quadpay-widget tag.
<!-- Insert Zip Widget -->
<quadpay-widget-v3 amount="100" merchantId="[Insert merchant Id]" customMargins="10px"></quadpay-widget-v3>
> Adjust Widget Verbiage
<!-- Insert Zip Widget -->
<quadpay-widget-v3 amount="100" merchantId="[Insert merchant Id]" widgetVerbiage="4-easy-payments" ></quadpay-widget-v3>
> Dark Mode
<!-- Insert Zip Widget -->
<quadpay-widget-v3 amount="100" merchantId="[Insert merchant Id]" darkMode="true" ></quadpay-widget-v3>
> Combine Customizations
Many customizations can be included in the quadpay-widget tag.
<!-- Insert Zip Widget -->
  <quadpay-widget-v3 amount="100"
                 		 min="35"
                	   max="1500"
                     alignment="center"
                     breakpointAlignment="768, right"
                     size="110%"
                     logoAlignment="-1px"
                     amountSelector=".price"
                     merchantId="[Insert merchant Id]">
  </quadpay-widget-v3>
Advanced Customizations
If you would like to talk about more advanced customizations or have any questions, please email our Integrations Team.
Updated 24 days ago
