Second Chance Widget
Approximately 9% of all debit card transactions and 5% of all credit card transactions are declined. One of the top reasons for payment declines is insufficient funds. With our Second Chance Experience, you can offer Zip at the point of decline, presenting your customer with the option to pay for 25% of the amount up front. The Second Chance widget is set up the same way the Zip Button is set up.
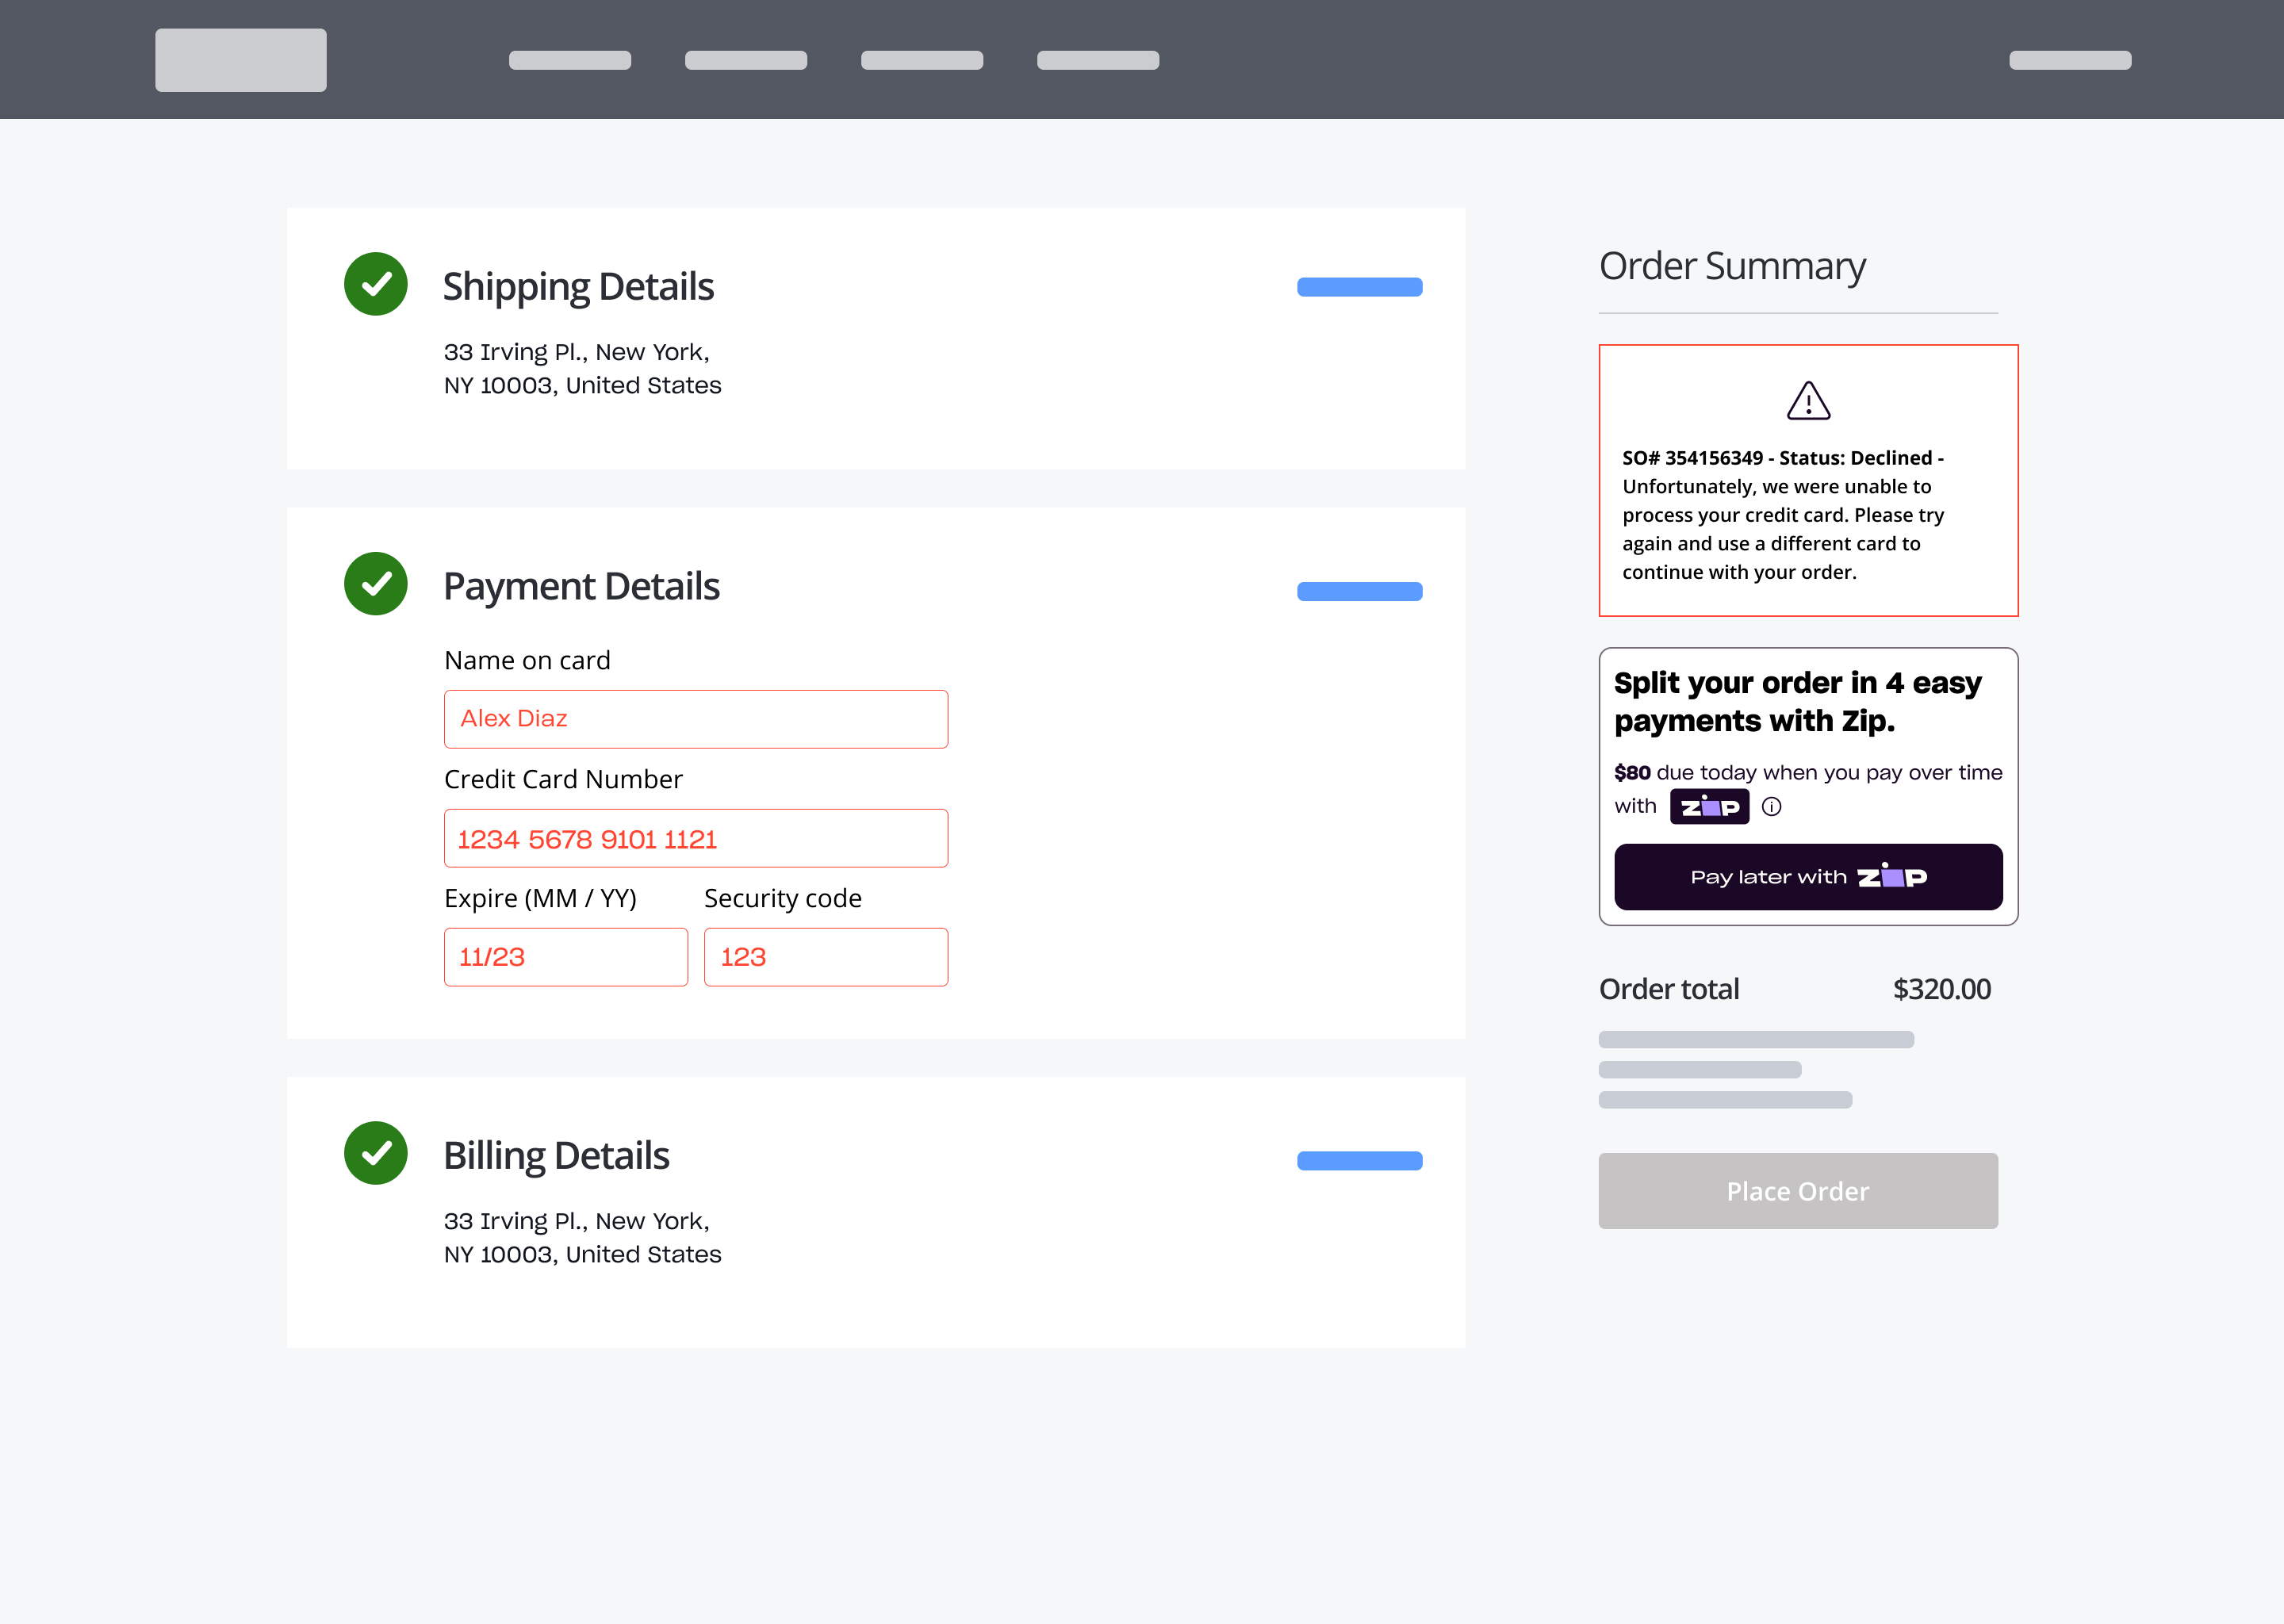
Sample decline screen with the Zip Second Chance widget presented (right) as an alternative payment method.
Steps To Implement
Add the Javascript Library
Place the following JS library on your page to enable the display of the Second Chance widget and initiation of checkout from the widget.
- Sandbox -
https://cdn.sand.us.zip.co/v1/zip.js - Production -
https://cdn.us.zip.co/v1/zip.js
<!-- Zip Library -->
<script src="https://cdn.sand.us.zip.co/v1/zip.js"></script>
Place Widget
Paste this snippet where the Zip Widget should appear. Within the widget please include all mandatory attributes.
<!-- Insert Second Chance Widget -->
  <zip-second-chance-widget
      amount="100"
      merchantId="[Insert merchant Id]"
      currency="USD"
      merchantReference="abc-123"
      backgroundColor="black"
      borderStyle="curved">
</zip-second-chance-widget>
Available Attributes
Below are the following customizations available for both Virtual Checkout and the API Javascript SDK integrations. For Virtual Checkout merchants, all properties available in the VC button will be available in this Second Chance Widget as well.
| Attribute Name | Value Type | Details |
|---|---|---|
| merchantId* | GUID | Your unique ID for your integration. Share via the Merchant Portal. |
| amount* | Number | The maximum amount that can be authorized on the issued virtual card. It should include all fees, taxes, shipping, and discount codes calculated in its value. |
| currency | String | Default:USD |
| merchantReference* | String | This is an identifier you will use to reconcile orders made with Zip. Set this to something that is unique for each order that you can preferably reference within your system. |
| integrationType | String | integrationType="api" is required for API merchants. |
| backgroundColor | String | Options: white, black, grey (default: white) |
| hideBorder | Boolean | Options: true, false |
| borderStyle | String | Options: curved, sharp (default: sharp) |
*Required
Checkout Start
If you have already implemented either our Virtual Checkout or the API Javascript SDK product, you can reuse that implementation for the Second Chance Widget.
Virtual Checkout
Just as with a standard Virtual Checkout order, a merchant is required to register callbacks to handle what happens when the order completes, or is cancelled. Below is an example of registering the callbacks. Please refer to our VC docs for more details.
<script>
  window.quadpay.virtualCheckout.onComplete(function (result) {
    console.log('virtual checkout onComplete', result);
  });
  window.quadpay.virtualCheckout.onClose(function (message) { console.log("User Closed Message:" + message); });
  window.quadpay.virtualCheckout.onError(function (message) { console.log("QPJS Error: " + message); });
</script>
API Javascript SDK
Using the Second Chance Widget with our Classic API is a bit more complicated than using it with Virtual Checkout. The merchant will have to do some more set up before the customer can start an order. This includes setting up a custom click handler for the widget, building an API request object, and creating a secure “merchant signature” using their “merchant secret."
<script>
  var apiPopupSecondChanceWidget = document.getElementsByTagName(
    "zip-second-chance-widget"
  )[0];

  function clickListener() {
    const amount = apiPopupSecondChanceWidget.getAttribute("amount");
    const currency = apiPopupSecondChanceWidget.getAttribute("currency");
    const merchantId = apiPopupSecondChanceWidget.getAttribute("merchantId");
    const merchantReference = apiPopupSecondChanceWidget.getAttribute("merchantReference");

    // Building order object
    const order = {
      amount: amount,
      currency: currency,
    };

    // Building request object
    const requestBody = {
      merchantId: merchantId,
      merchantReference: merchantReference,
      order,
    };

    // Merchant makes a request to their backend API to sign the request
    // This is necessary because their merchant secret must be hidden in their backend
    // See the "Backend Example" below
    $.ajax({
      url: "/Handler1.ashx", // Url to server side calculation of signature
      type: "POST",
      contentType: "application/json; charset=utf-8",
      data: JSON.stringify(requestBody),
      success: function(signature) {
        // Upon successful response from backend API, open an API checkout.
        window.quadpay.apiCheckout.openCheckout(requestBody, signature);
      },
      error: function(errorText) {
        console.log("No signature");
      },
    });
  }

  apiPopupSecondChanceWidget.onClickCheckoutButton(clickListener);

  // Registering callbacks to return information to merchant when order is complete
  window.quadpay.apiCheckout.onComplete(function(result) {
    console.log("api checkout onComplete", result);
  });
  window.quadpay.apiCheckout.onClose(function(message) {
    console.log("User Closed Message:" + message);
  });
  window.quadpay.apiCheckout.onError(function(message) {
    console.log("QPJS Error: " + message);
  });
</script>
Signature Calculation
In addition to the above, an API Javascript SDK integrated merchant will need to handle the signature calculation on the backend to generate a signature and sign the request. Please follow the instructions listed in the API Javascript SDK docs to calculate the signature. A merchant should keep their Merchant Secret secure in their backend like this so it won't be exposed in the browser.
Click Listener
Required for API
For API checkout, for the button to work correctly, the
clickListeneris required.
Add a click listener directly to the onClickCheckoutButtonon the widget element by passing it through the secondChanceWidget method.
function clickListener() { }
var apiPopupSecondChanceWidget = document.getElementsByTagName("zip-second-chance-widget")[0];
apiPopupSecondChanceWidget.onClickCheckoutButton(clickListener);
> Choose Background Color
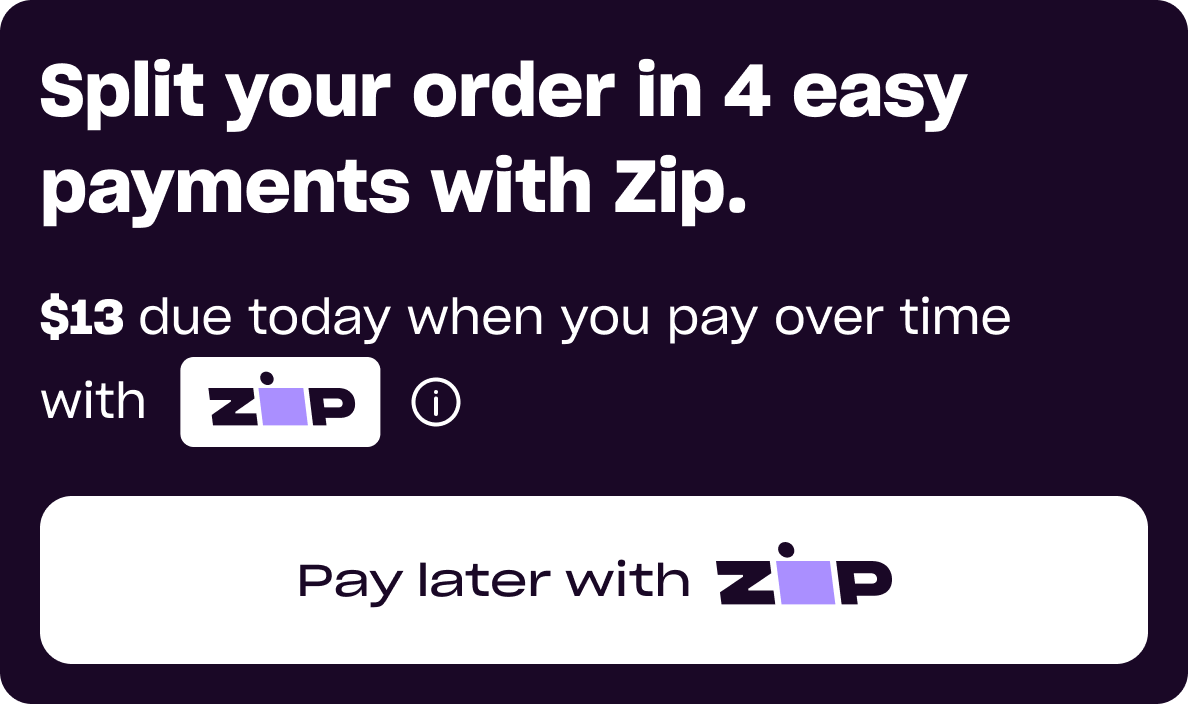
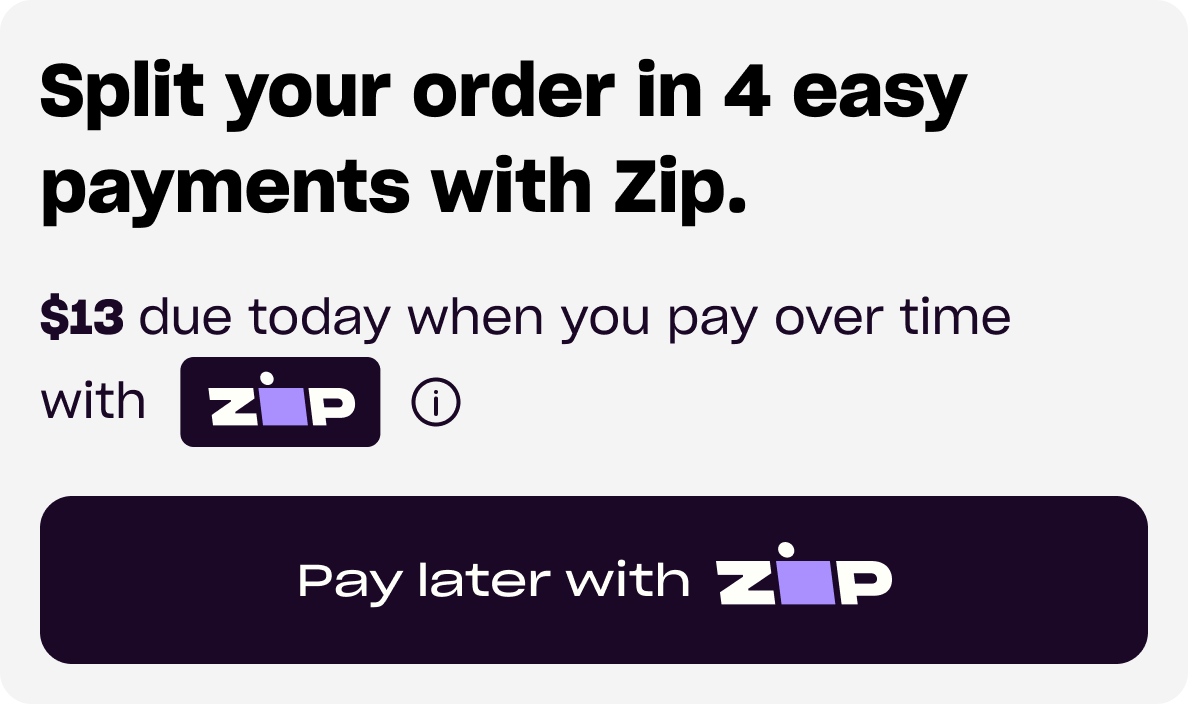
The default background color is white. However, there is also the option to update the background color to either black or grey.
Black Background Example
Grey Background Example
> Hide Border
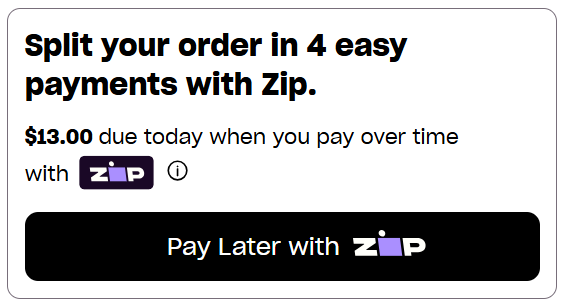
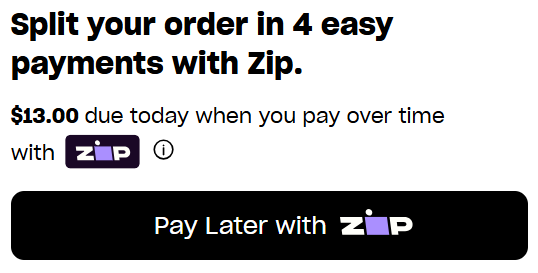
The default widget will have a thin black border, however there is the option to remove the border.
With Border Example
Without Border Example
> Adjust Border Style
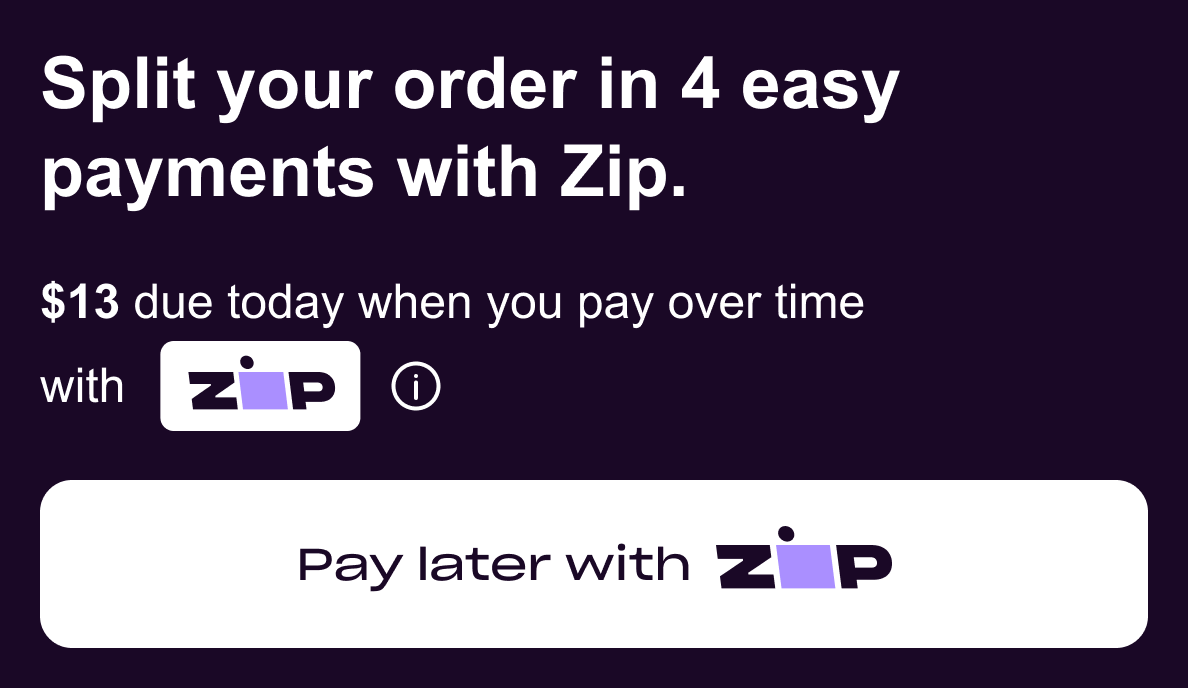
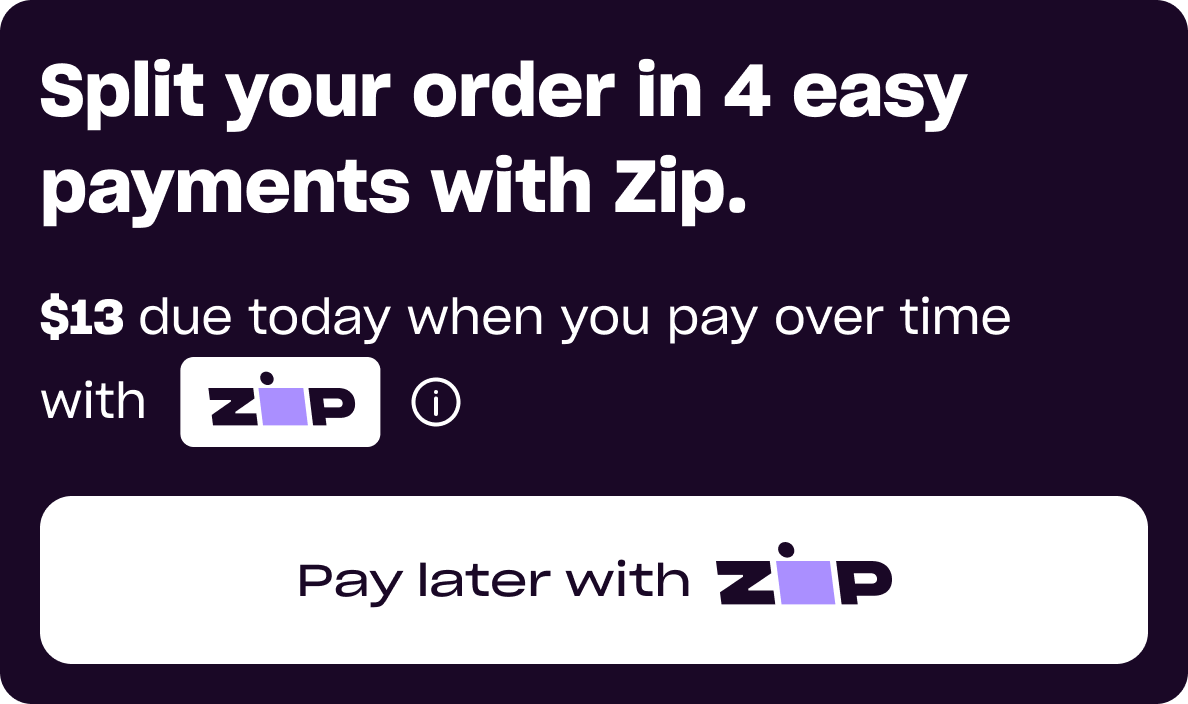
The default border style is one with sharp edges, but there is the option to have curved edges as well.
Sharp Edge Border Example
Round Edge Border Example
Advanced Customizations
If you would like to talk about more advanced customizations or have any questions, please email our Integrations Team.
Updated 3 months ago
