WooCommerce
For WooCommerce stores, Zip offers a plugin for integrating Zip into your store. If you don't have a merchant account with Zip, please navigate to Zip for Business to become a merchant partner.
Once you've become a Zip merchant partner, you can refer to this guide as you integrate via the Zip onboarding flow. If you've previously been a Zip partner or are encountering technical issues please utilize this guide or reach out to Partner Support for assistance.
Zip for WooCommerce 1.9.0
- Login to your WordPress Admin Dashboard, scroll down and click on Plugins and then Add New Plugin.

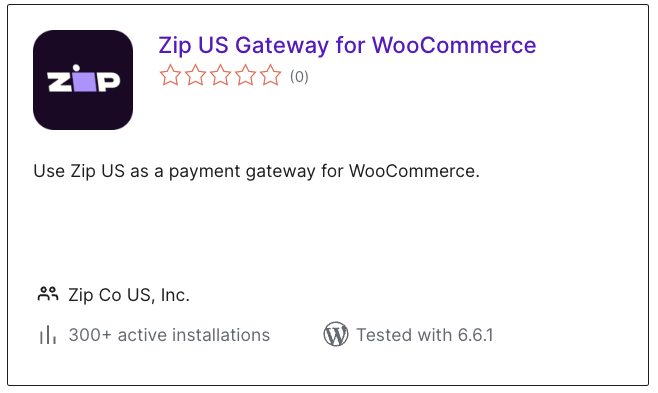
- Search for Zip US Gateway in the search bar on the right.

- Click on Install Now and then Activate the plugin.
- Go back to the Dashboard and select Plugins.
The Zip US Gateway for WooCommerce plugin now appears in the list of Installed Plugins. To configure, click on Settings.

Configuration
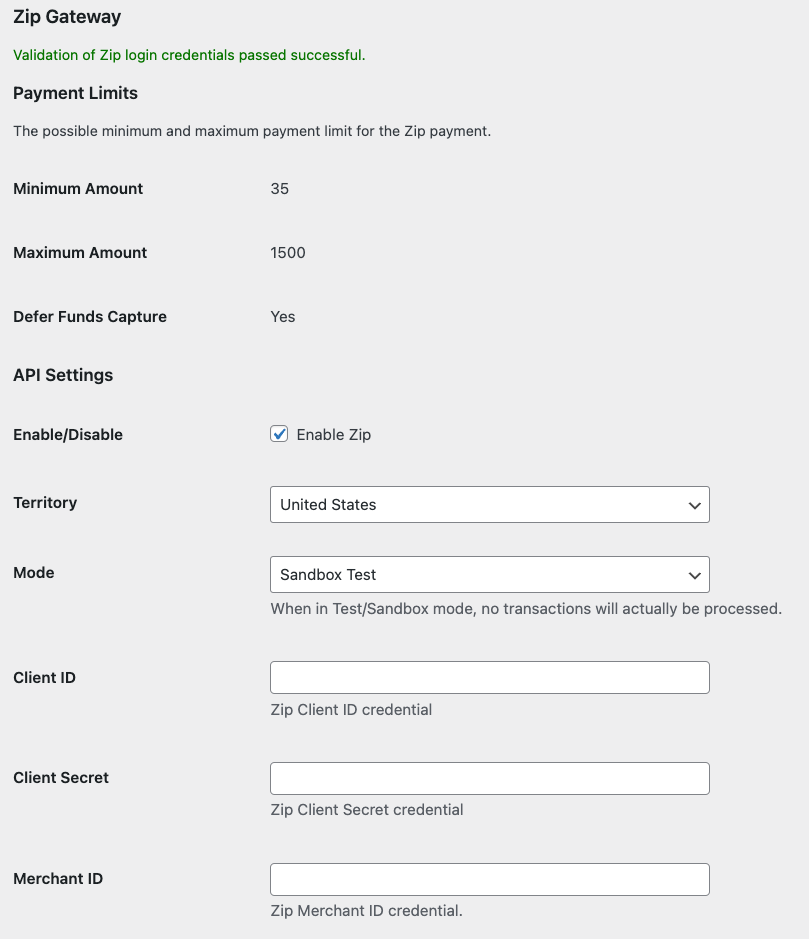
- Check Enable Zip.

- Confirm Territory is set to United States and Mode dropdown selector is set to Production.
- Copy and paste your credentials into the Client ID, Client Secret, and Merchant ID fields. You can find your credentials in the Settings tab of the Zip Merchant Portal.
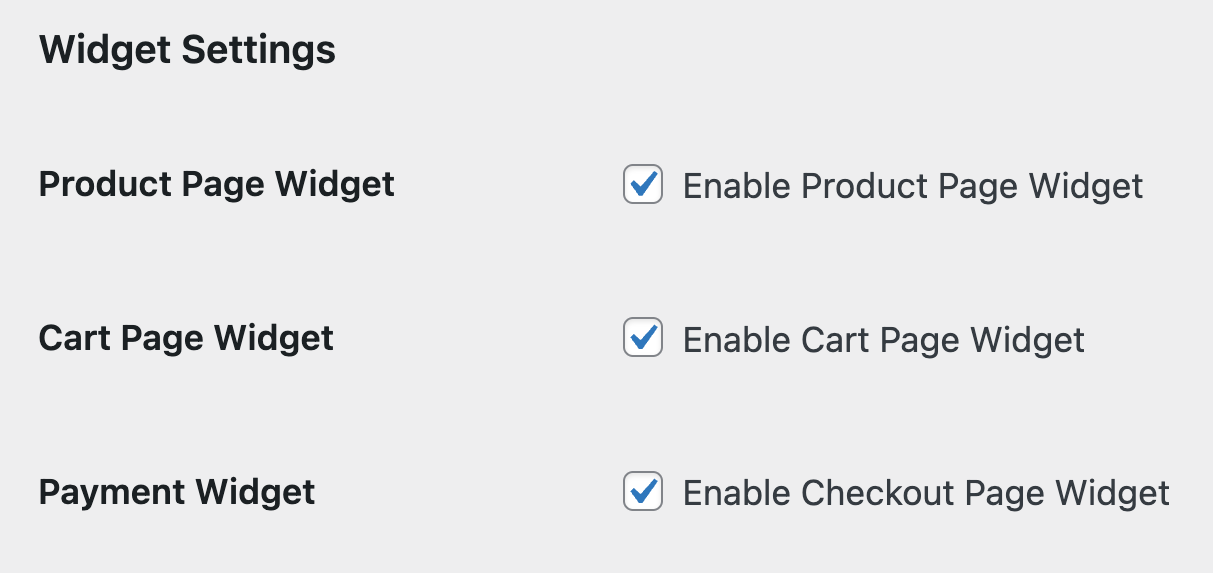
- To display the Zip widget, check Enable Product Page Widget, Enable Cart Page Widget, and Enable Checkout Page Widget
- Scroll down and click Save.
Congratulations! Well done!
You have successfully integrated the Zip Widget and Payment Gateway into your shop.
Please review how the widget looks on your product pages. If you require further widget customization, that is possible and covered below under "Widget Customization."
Lastly, though not required, we suggest doing a quick end-to-end test by creating a small Zip transaction and voiding thereafter.
Widget Customization
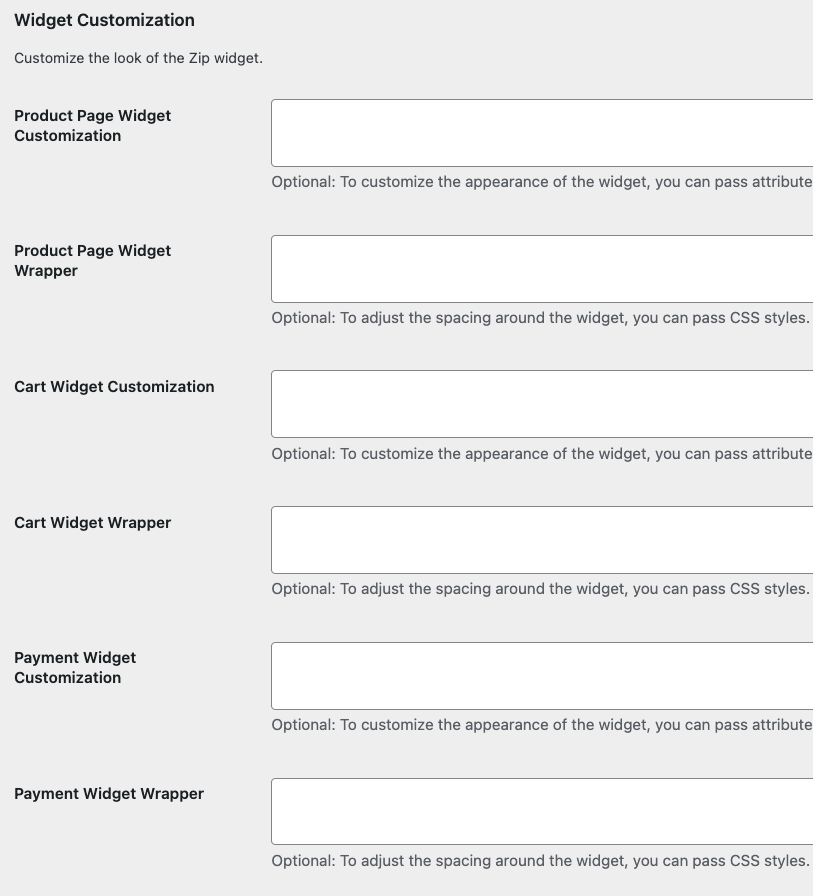
For guidance on customizing the widget, please find a list of supported attributes.
These attributes can be set in WooCommerce Admin by going back to the Dashboard and selecting Plugins.
The Zip US Gateway for WooCommerce plugin appears in the list of Installed Plugins. To customize, click on Settings.
Issuing Refunds
Issuing refunds for Zip orders is straightforward with the following instructions.
-
In the WordPress Admin Dashboard, go to WooCommerce > Orders.
-
Find and click on the order to refund.
-
Click the Refund button.
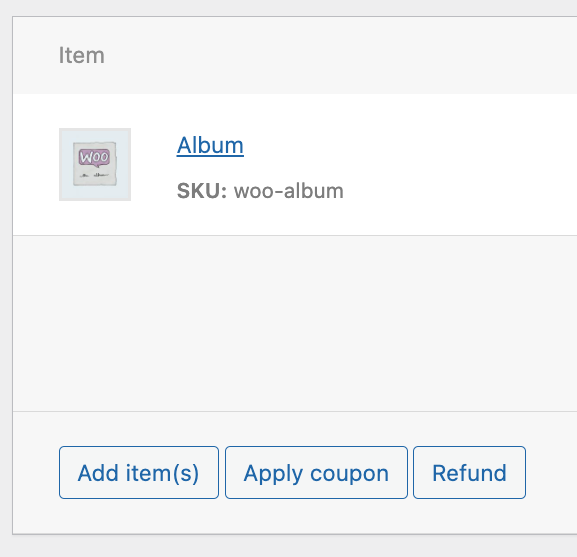
- Input the quantities and amounts to refund. Provide an optional description. Click the Refund via Zip - Pay over time button.
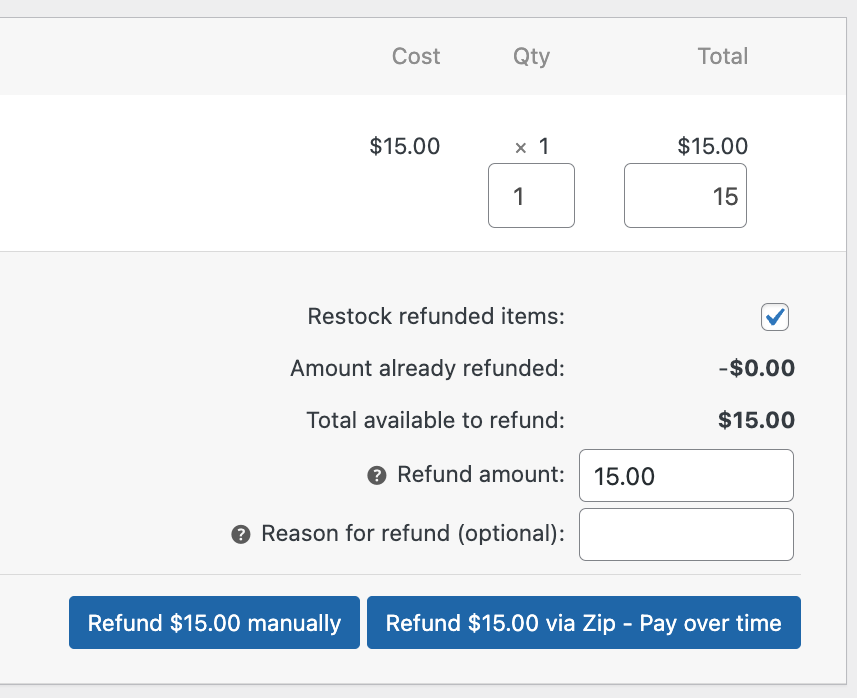
Refund via Zip
If you issue a refund using the Refund Manually button, Zip will not receive any notification of the refund and your customer will not receive a refund from Zip.
- Zip will automatically credit the customer's existing and/or future installments as needed. Verify the order status both by noting the Status of the order in the Dashboard and also in the Zip Merchant Portal.
Updated 10 months ago
